
A Skill Tracking Program is the top-level container for your curriculum — the "umbrella" that organizes all the levels and skills students must complete. You'll set up your program first, then add levels and skills inside it.
Here is quick video of how to setup your first Skill Tracking Program
Who can use this feature?
- User Roles: ✅Primary Owner, ✅Owner, ✅Manager, ❌Staff, ❌Limited Staff
Create a Program
-
At the top of any Pike13 page click Settings, then click Skill Tracking.
- Note: If Skill Tracking does not appear in your settings, contact
sales@pike13.com.
- Note: If Skill Tracking does not appear in your settings, contact
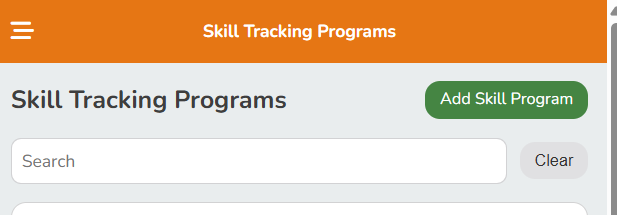
- Click Add Skill Program.
- Fill in the following details:
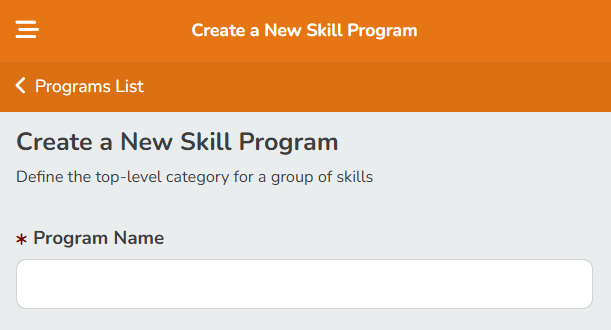
- Program Name: Enter a clear name for the curriculum.
- Description (Optional): Add a brief summary of the program’s goals.
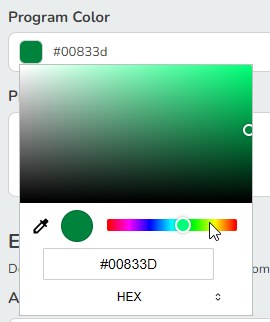
- Program Color: Click the square to choose a different color.
- Program Icon: Click Choose File to upload a custom image or logo.
- Applicable Services: Select services where this program applies. You can add services to this later.
- Who Can Enroll: Select if clients, members or both may participate.
- Age Restrictions: Leave this blank if participants may be any age. Set a minimum and maximum age to restrict enrollment.
- Skill Progression Type: Select if participants must have all prerequisites or any single prerequisite to enroll in this program.
- Search & Add Prerequisites: Add other skill programs that are required before enrolling in this one.
- Click Save.
You are now ready to add your Levels and Skills!
Delete a Program
-
At the top of any Pike13 page click Settings, then click Skill Tracking.
- Click on an existing program.
- On the right hand side of the page, select the Delete button.