Meta Pixel is a website code snippet used to track conversions, optimize advertisements, and build targeted remarketing audiences based on user actions.
In This Article
Who can use this feature?
- Pike13 Plans: ✅Premium, ✅Advanced, ❌Essential
- User Roles: ✅Primary Owner, ✅Owner, ✅Manager, ❌Staff, ❌Limited Staff
Create a Meta Pixel
Follow the instructions below or see the Facebook help center for more details.
-
Go to your Meta Events Manager.
-
Click on Connect Data Sources.
-
Select Web.
-
Click Connect.
-
Enter a name for your pixel, then click Create Pixel.
-
Copy your Pixel ID.
Install Meta Pixel In Pike13
-
At the top of any Pike13 page click Settings, then click Apps & Add-ons.

-
In the Widgets section, click Facebook Pixel. If you don't see it, contact
help@pike13.com.
-
Enter your Pixel ID in the text box.

-
Click Save.
-
Return to your Meta Event Manager to test the connection.
Events Tracked by Pike13
Pike13 automatically installs the pixel on all Client page views. To ensure your data is clean, activity is not tracked when a staff member is logged in or using the See what clients see feature.
Events that can be tracked:
- Lead: a user creates a new client profile
- Purchase: a client makes a new purchase
- Schedule: a client books an appointment or enrolls in a class or course
Tip
To test your pixel, log out of your staff account and use a test account that is set up as a Client.
Note
Tracking Other Events
Facebook offers to set up more events using the event set up tool. You can find more information from this article.
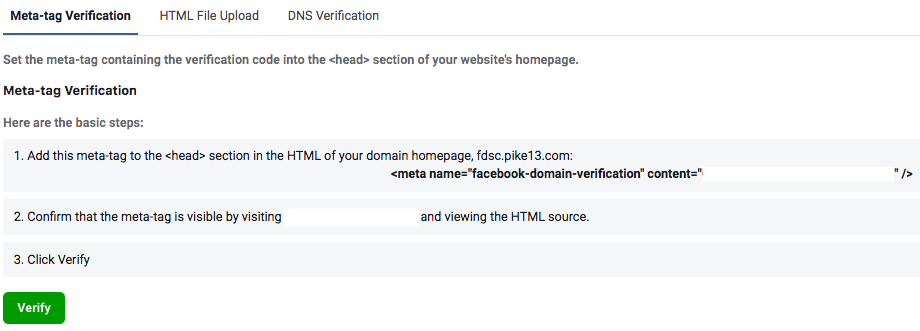
Domain Verification
Pike13 supports verifying your subdomain. To set this up contact help@pike13.com and include your Meta tag. Read more on how to set up Domain Verification.