The Schedule Widget bridges the gap between your marketing website and your Pike13 site. By embedding your live schedule, you allow prospective clients to browse classes and courses without leaving your site. Once they select an event, they are funneled directly into the Pike13 enrollment and payment workflow for a seamless checkout experience.
In This Article
Who can use this feature?
- Pike13 Plans: ✅Premium, ✅Advanced, ❌Essential
- User Roles: ✅Primary Owner, ✅Owner, ✅Manager, ❌Staff, ❌Limited Staff
Configuring the Schedule Widget
- At the top of any Pike13 page, click Settings, then click Apps & Add Ons.
- Click Embeddable Widgets and select the Schedule widget option.
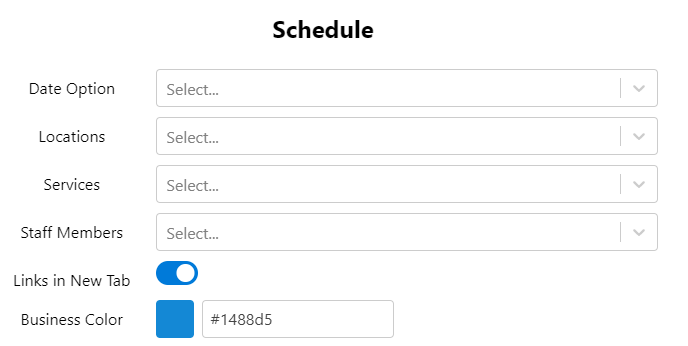
- Set the following fields:
- Date Option:
- Relative Date Range: A dynamic date range.
- Examples: "Today", "7 Days Ago", "14 Days From Now"
- Absolute Date Range: Specific start date and specific end date.
- Relative Date Range: A dynamic date range.
- Locations: Select any number of locations within your business.
- Services: List all, one, or select many services to show in the widget.
- Staff Members: Select any number of staff members for this widget.
- Links in New Tab: Yes or No toggle to open links in a new tab in the user's browser.
- Default Widget View: Week or Day options.
- Business Color: set a business color to match your branding.
- Date Option:
- Verify changes in the preview to the left, then click Continue.
- Click Copy to Clipboard below the widget code to use in your marketing site.
Note
Viewing Permissions
To ensure a staff member or particular services appears in the widget, verify these two settings:
-
Service: Go to the specific service > Website Settings > set Show instructor name? to Yes.
-
Staff Member: Go to the staff member's profile > Edit Profile > set Show on your Pike13 website to Yes.
More Information
For additional information on how to use this code in your marketing site, please see this article: Adding Widgets to Your Marketing Site