
Learn how to capture business-specific data by creating and managing custom client fields. This guide covers how to configure field types, set visibility permissions for staff and clients, and utilize custom data as dynamic placeholders in your online documents or email marketing campaigns.
In This Article
Who can use this feature?
- Pike13 Plans: ✅Premium, ✅Advanced, ✅Essential
- User Roles: ✅Primary Owner, ✅Owner, ✅Manager, ❌Staff, ❌Limited Staff
Customizing Data With Custom Fields
Pike13 custom fields allow you to collect tailored business data with granular visibility and requirement settings. These fields can also serve as dynamic document placeholders, though document-only data is saved exclusively to the signed agreement rather than the client profile.
Creating Custom Client Fields
-
At the top of any Pike13 page click Settings, then click Advanced Settings.
-
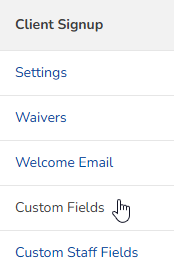
In the Client Signup section click Custom Fields.
-
Click + New Custom Field.
-
Fill in the following details:
-
Enter a custom field name.
-
Add a note that clients will see to explain why you need this information under Why ask for this?
-
Choose how you want to collect information for this question under Which answer options do you want to offer? Your choices are:
-
Freeform Text
-
Date Only
-
A list of choices that you define which also allows choosing multiple options
-
Yes/No answers
-
-
Determine whether the field is required, optional, or hidden during client signup for each client type.
-
Choose whether the field is shown in profiles to clients and staff members under Is this field used in client profiles?
-
Choose whether staff members need to provide this information upon signing in under Is this field required when staff members claim their accounts?
-
Determine whether this field is shown to all staff members, manager and owners only, or to no one under Is this field used in staff member profiles?
-
Tell the system whether this should be a placeholder in online documents under Can this field be used when creating documents?
-
If you want to use this field as one of the 30 merge tags in MailChimp for segmenting your client lists in targeted email campaigns, make sure the Sync this field to MailChimp checkbox is checked.
-
-
Click Save.
Editing Custom Client Fields
-
At the top of any Pike13 page click Settings, then click Advanced Settings.
-
In the Client Signup section click Custom Fields.
-
Click Edit next to the custom field you wish to update.
-
On the following page, make any necessary change to the custom field.
-
Click Update.
Deleting Custom Client Fields
-
At the top of any Pike13 page click Settings, then click Advanced Settings.
-
In the Client Signup section click Custom Fields.
-
Click Edit next to the Custom Field you wish to delete.
-
Scroll to the bottom of the page and click Delete, then click Yes to confirm.

-
Deleting a custom field will permanently remove the data that was saved in this field from a person's profile. This information cannot be restored once it is deleted.
-
Secondary Client Info
-
At the top of any Pike13 page click Settings, then click Advanced Settings.
-
In the Client Signup section click Custom Fields.
-
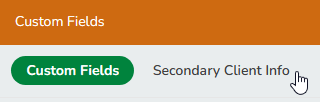
Click the Secondary Client Info tab.
-
Select a field from the drop down menu to display on the Client search page.
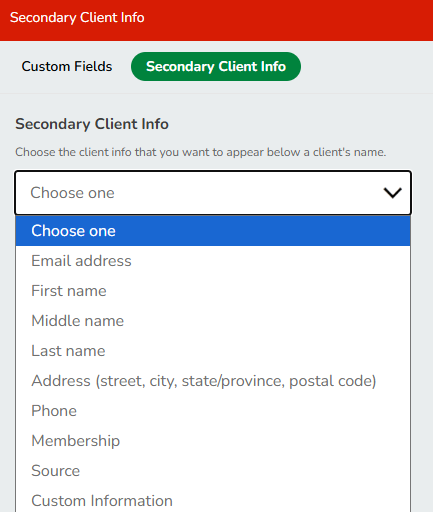
- Click Update.
Selecting Membership will look like this: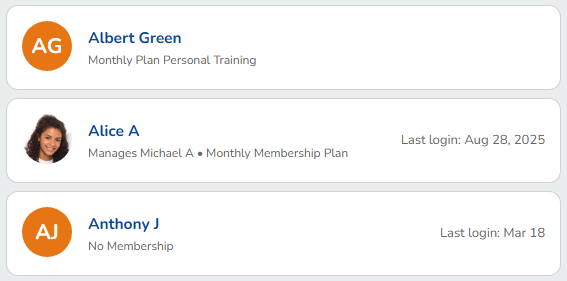
Using Custom Fields as Document Placeholders
Custom fields can also act as placeholders — auto-populated fields that pull client data directly into online documents like waivers. This is controlled by the "Can this field be used when creating documents?" setting in step 8 above.
When creating or editing a custom field, set this to Yes if you want it to appear as an available placeholder when building a document.
Once enabled, here's how the data shows up:
- If the client already has data saved for this field (for example, it's also shown on their client profile), that data will automatically populate the document when it's generated — no extra steps needed.
- If the field is used only for documents and isn't shown anywhere on the client's profile, the client will be prompted to fill it in themselves before they can sign.
This makes placeholders a convenient way to pull in details like emergency contacts, membership type, or waiver-specific acknowledgments without asking clients to retype information you already have — or collecting new information only at the point of signing.
For more on building and managing documents, see Miscellaneous Documents.