Who can use this feature?
- Pike13 Plans: ✅Premium, ✅Advanced, ✅Essential
- User Roles: ✅Primary Owner, ✅Owner, ✅Manager, ✅Staff, ❌Limited Staff
Mobile Browsers/Staff App
- Click on the 3 bars
 in the upper left hand corner, then click Clients.
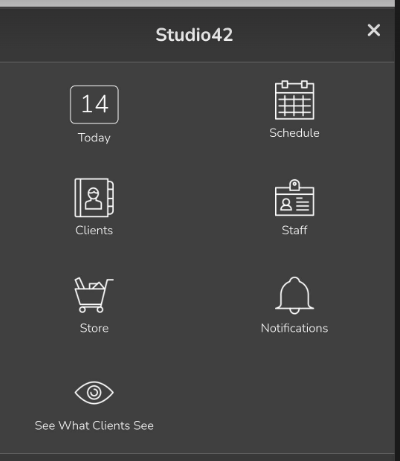
- Click on the down arrow
 in the upper right hand corner, then click + New Client.
 - Enter the person's preferred pronoun, first name, last name, email address, and any other information your business requires.
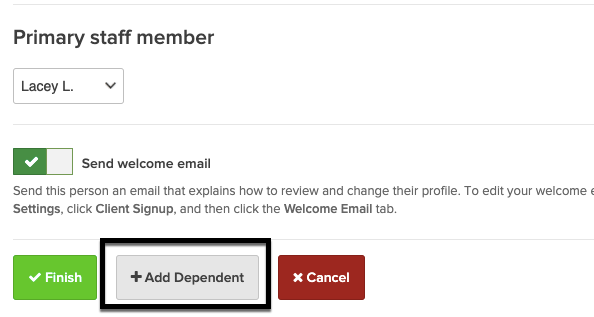
- Select a primary home location, a primary staff member, whether to issue a complimentary pass, or send the welcome email.
- If this client is not managing another person, click Finish.
- If this client manages another person, choose Add Dependent and repeat the process as necessary for that person.
- Click Finish when you have added all client information.
Note
Converting a Client to a Non-Client
If a person only manages dependents and doesn’t enroll in services or make personal purchases, you can switch them to a Non-Client.
Key Benefits:
-
Cleaner Lists: They are removed from the active Client list.
-
Waiver Exempt: They are no longer required to sign a waiver for themselves.
Simply navigate to the person's Client Profile, and in the right-hand menu, select Make [Name] a non-client.
Desktop Browsers
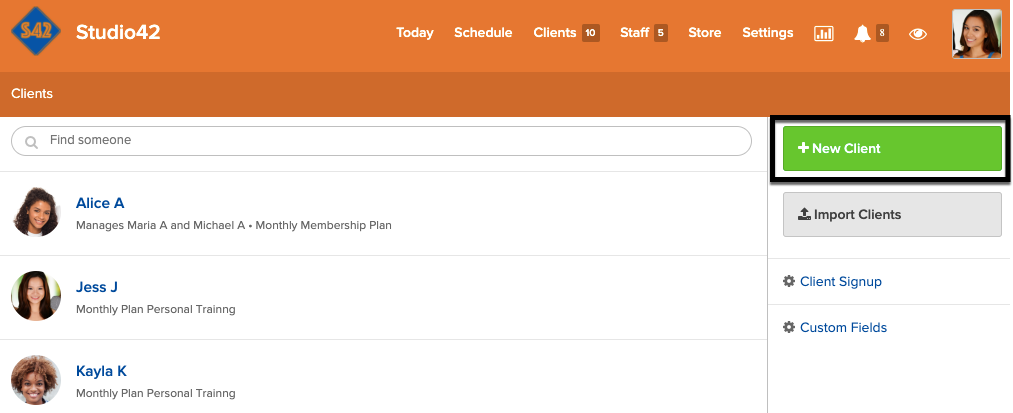
- Click Clients in at the top of any page, then click + New Client.
- Enter the person's preferred pronoun, first name, last name, email address, and any other information your business requires.
- Select a primary home location, a primary staff member, whether to issue a complimentary pass, or send the welcome email.
- If this client is not managing another person, click Finish.
- If this client manages another person, click Add Dependent and repeat the process as necessary for that person.
- Click Finish when you have added all client information.
Note
Converting a Client to a Non-Client
If a person only manages dependents and doesn’t enroll in services or make personal purchases, you can switch them to a Non-Client.
Key Benefits:
-
Cleaner Lists: They are removed from the active Client list.
-
Waiver Exempt: They are no longer required to sign a waiver for themselves.
Simply navigate to the person's Client Profile, and in the right-hand menu, select Make [Name] a non-client.